 St. Petersburg
 Siding Installation for Snell Isle Homes
Snell Isle sits close to the water on the north side of St. Petersburg, and that proximity shapes almost every decision that goes into a siding project here. Homes on or near the water get more direct sun exposure off open water, more airborne salt, and more wind-driven rain than homes further inland in Pinellas County. Siding that would hold up fine in a landlocked suburb can fail years early here if it wasn't chosen and installed with that exposure in mind. This page covers what siding installation in Snell Isle actually requires, what a correct installation looks like from the ground up, and why we install exclusively in James Hardie fiber cement rather than the vinyl, engineered wood, or other fiber cement products you'll see offered elsewhere.
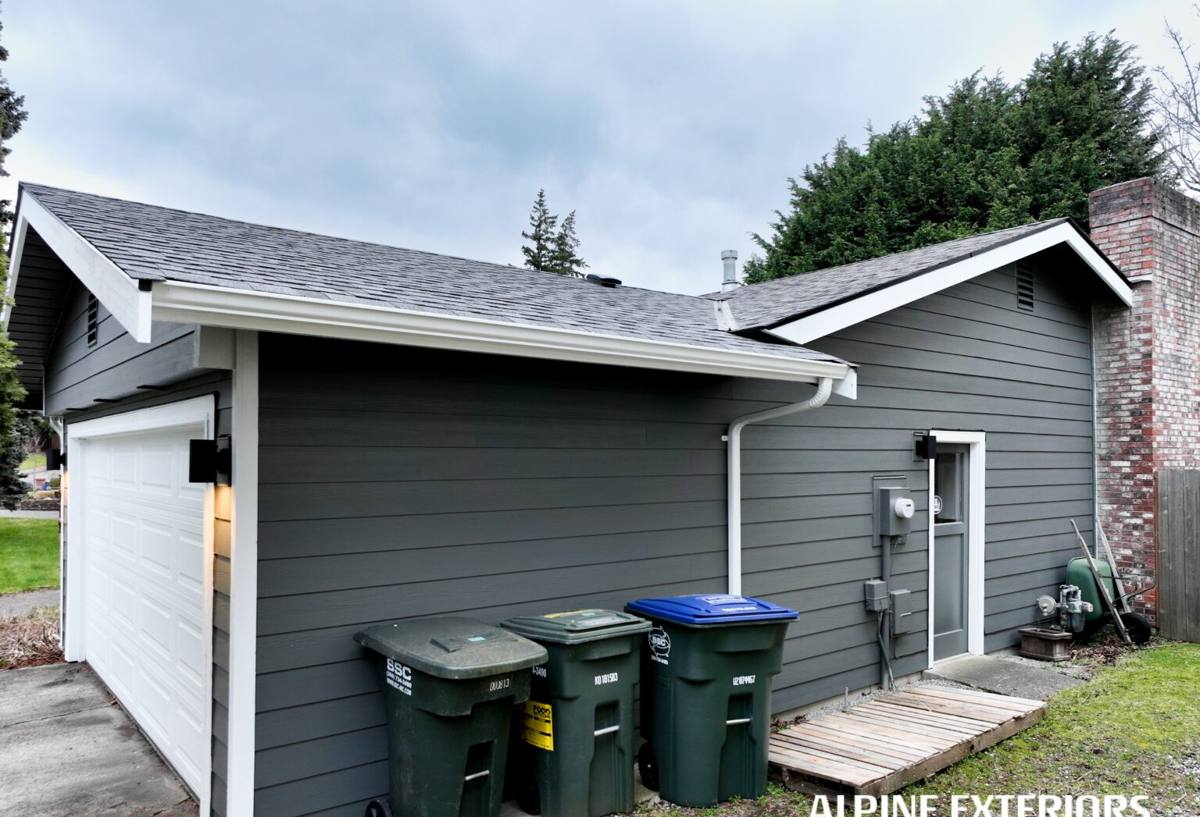
The Climate Snell Isle Siding Has to Survive
St. Petersburg's climate is hard on exterior building materials in general, and waterfront neighborhoods like Snell Isle see an intensified version of that stress. Four factors do most of the damage over time:
- Hurricane-force wind: Tropical systems and seasonal storms push wind loads that test every fastener, seam, and panel edge on a home's exterior.
- Year-round UV intensity: Florida's sun angle and long exposure season fade and break down organic siding finishes faster than in most of the country.
- Wind-driven rain: Storms here don't just fall straight down — rain gets pushed sideways into seams, laps, and trim joints, which is where most water intrusion problems start.
- Salt air: Being close to Tampa Bay means airborne salt settles on siding, fasteners, and trim year-round, accelerating corrosion and finish breakdown compared to inland homes.
None of these factors are unique to Snell Isle, but the combination and intensity are stronger here than in many other parts of Pinellas County simply because of how close the neighborhood sits to open water. Siding selection and installation detail both need to account for that from the start, not as an afterthought.
Signs It's Time for New Siding
Homeowners often wait too long to replace failing siding because the early warning signs look cosmetic rather than structural. Watch for:
- Visible warping, buckling, or panels that no longer sit flat against the wall
- Soft spots when you press on siding near the bottom edges or around windows and doors
- Paint or finish that's peeling, chalking, or fading unevenly across the same wall
- Gaps opening up at seams, corners, or trim joints
- Rising energy bills with no other explanation, suggesting the wall assembly is no longer sealing properly
- Visible mold, mildew, or persistent moisture staining, especially on shaded or water-facing walls
Any one of these on its own might be a minor repair. Several at once, or any sign of soft or spongy material, usually means the siding system as a whole has reached the point where installation of a new, correctly detailed system makes more sense than patching.
What a Correct Siding Installation Involves
Siding is a system, not just a set of panels nailed to a wall. A correct installation on a Snell Isle home involves several layers working together, and skipping or rushing any one of them is where most premature failures start.
The Substrate and Water-Resistive Barrier
Before any siding goes up, the wall sheathing needs to be sound, and a proper water-resistive barrier (house wrap or building paper, installed shingle-style so water sheds downward and outward) needs to be in place and correctly lapped. In a wind-driven rain environment like Snell Isle's, this layer is what protects the wall assembly if any water does get past the siding face — and it's invisible once the job is done, which is exactly why it's the layer that gets cut corners on cheap installs.
Flashing at Every Penetration
Windows, doors, hose bibs, vents, and any other wall penetration need proper flashing integrated with the water-resistive barrier before siding covers them. This is the single most common source of hidden water intrusion in coastal Florida homes, and it's a detail that can't be inspected once the siding is on — it has to be done right the first time.
Fastening for Wind Load
Fastener type, spacing, and placement all need to match the manufacturer's engineering specifications for the local wind exposure. Snell Isle's waterfront exposure typically calls for closer fastener spacing and corrosion-resistant fasteners than an inland installation would need.
Proper Clearances and Terminations
Siding needs the correct clearance from grade, roof lines, decks, and other transitions so water sheds away from the wall instead of wicking up into the bottom edge of the siding — a common failure point on waterfront lots where grade and drainage are already tight.
Why We Install Only James Hardie Fiber Cement
We install James Hardie fiber cement siding exclusively. We don't offer vinyl, LP SmartSide, Cemplank, Allura, or primed wood siding, and that's a deliberate professional standard, not a sales preference.
Vinyl siding is affordable and low-maintenance, but it softens and can deform in extreme heat, and in a hurricane-wind environment it's more vulnerable to cracking and blow-off at the edges than fiber cement. Engineered wood products like LP SmartSide perform well in many climates, but they rely on an intact factory finish and careful field sealing at every cut edge to keep moisture out — a maintenance-sensitive detail in a humid, storm-exposed coastal setting. Other fiber cement brands compete on price but don't offer the same factory-applied ColorPlus finish system, the same climate-specific engineered product lines, or the same depth of transferable warranty coverage that James Hardie backs its products with.
James Hardie's HZ5 product line is engineered specifically for high-humidity, storm-prone climates like ours. The boards are non-combustible, resist moisture-driven swelling and rot far better than wood-based alternatives, and the ColorPlus factory finish is baked on under controlled conditions rather than field-applied, which means better UV and fade resistance than a job-site paint job. For a waterfront neighborhood like Snell Isle dealing with sun, salt, and wind-driven rain simultaneously, that combination of non-combustible material, factory-cured finish, and hurricane-zone engineering is why we standardized on it and don't install alternatives.
Comparing Siding Materials for a Waterfront Pinellas County Home
| Factor | Vinyl Siding | Engineered Wood | James Hardie Fiber Cement |
|---|---|---|---|
| Wind resistance | Moderate; edges vulnerable to blow-off | Good if fasteners hold; panel can deform | Engineered for hurricane-zone wind ratings |
| Moisture/rot resistance | Doesn't rot but can trap moisture behind it | Sensitive; cut edges need field sealing | Highly resistant when installed to spec |
| UV/fade resistance | Can fade and chalk over time | Depends on factory or field-applied finish | Factory-baked ColorPlus finish resists fading |
| Fire performance | Combustible | Combustible | Non-combustible |
| Typical maintenance | Low, but limited repair options | Moderate; finish and seams need monitoring | Low; periodic caulk and finish checks |
This table reflects general material characteristics, not a guarantee of performance in every case — installation quality affects every row on this list, which is why the process below matters as much as the material choice.
Our Installation Process, Step by Step
- On-site assessment: We walk the exterior, check the current siding and substrate condition, and note wind and water exposure specific to the home's orientation and lot.
- Product and detail plan: We select the appropriate James Hardie profile and HZ product line, plan trim and flashing details, and confirm fastening specs for the site's wind exposure.
- Removal and substrate check: Old siding comes off and the sheathing underneath gets inspected for hidden rot or damage before anything new goes up.
- Water-resistive barrier and flashing: A new barrier is installed and properly lapped, with flashing integrated at every window, door, and penetration.
- Siding installation: Panels and trim go up to manufacturer spec, with fastener type, spacing, and clearances matched to the home's exposure.
- Final detailing: Caulking, touch-up, and a final walkthrough confirm every seam, corner, and termination is sealed and finished correctly.
What to Ask Before You Hire a Siding Crew
- Will you show me the water-resistive barrier and flashing details before they're covered up?
- What fastener type and spacing do you use for this home's wind exposure?
- Is the manufacturer's warranty registered in my name, and what does it actually cover?
- Have you installed siding on other homes in this specific neighborhood or exposure type?
- What's your plan for protecting landscaping, windows, and neighboring structures during the work?
- Do you carry manufacturer certification for the specific siding line you're installing?
Why Local Snell Isle Experience Matters
A siding crew that already understands Snell Isle's exposure doesn't have to guess at fastener schedules, flashing details, or product line selection — they've already worked through those decisions on homes with the same wind and salt exposure nearby. That experience shows up in the details that matter most after the crew leaves: how the seams hold up through the next storm season, whether the finish still looks right after a few summers of direct sun, and whether water stays out at every penetration point. For a waterfront St. Petersburg neighborhood like this one, that local pattern recognition is worth as much as the material specification itself.
If you're weighing a siding replacement on a Snell Isle home, we're happy to walk the exterior with you, look at what's actually happening with your current siding, and give you a straightforward, no-pressure estimate for a James Hardie installation built for this specific stretch of Pinellas County waterfront.