 St. Petersburg
 Roof Replacement Built for What Disston Heights Actually Gets Hit With
Disston Heights is an established, mostly single-family St. Petersburg neighborhood, and a lot of the roofs on it have already been through decades of Gulf Coast weather. That weather is not gentle. Pinellas County sits in a stretch of Florida that deals with hurricane-force wind gusts during storm season, some of the most intense year-round UV exposure in the country, wind-driven rain that hits roofs sideways instead of falling straight down, and salt-laden air drifting in off the water that works quietly on metal components for years before anyone notices. None of that makes roof replacement optional for very long once a roof starts showing its age — it just means the replacement has to be built to handle all four of those stresses at once, not just look good from the street.
This page is about roof replacement specifically for homes in Disston Heights: what the climate demands from a new roof, what a correct installation actually involves, how our process works from first walk-through to final cleanup, and why it matters to hire a crew that already works this part of St. Petersburg rather than one treating your address as just another stop on the route.
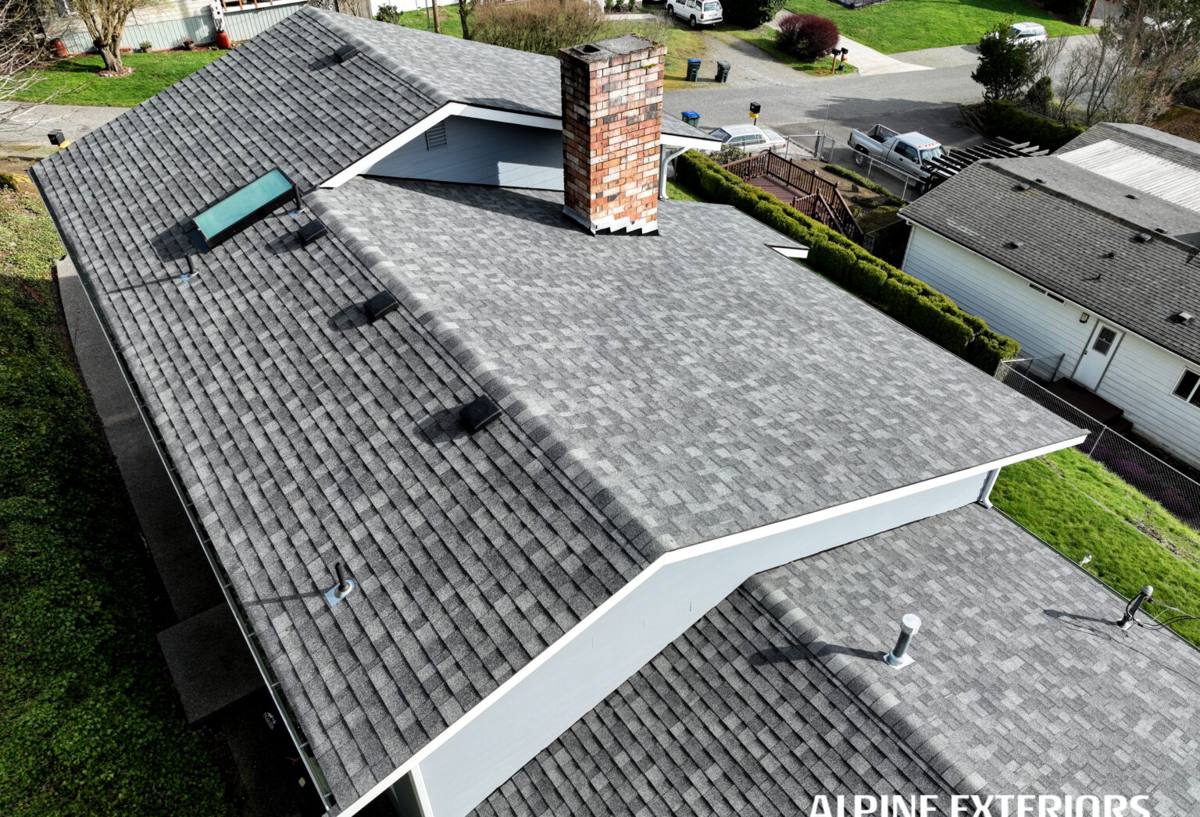
Signs a Disston Heights Roof Has Reached Replacement, Not Repair
Not every roof problem means a full replacement, and a straight answer about that difference is worth more than an upsell. That said, there are signs that consistently point toward replacement rather than another round of patching, especially on a roof that's already carried a home through multiple storm seasons.
- Granule loss heavy enough to show bare, shiny patches on the shingle surface, which means the shingle's UV and weather protection is wearing through
- Shingles that are curling, cupping, or cracking across large sections rather than in one isolated spot
- Soft spots or visible sagging in the roof deck when walked or inspected from the attic, which usually means moisture has already reached the wood
- Repeated leaks in different locations after previous patch repairs, rather than one leak recurring in the same place
- Missing or lifted shingles after a wind event, especially if it keeps happening after each storm
- A roof that's approaching or past its expected service life for its material, even if it isn't actively leaking yet
- Daylight visible through the roof deck from inside the attic
A roof showing one or two of these signs in a small area is often still a repair. A roof showing several of them, or showing them across multiple slopes, is usually past the point where repair makes financial sense compared to a full replacement done correctly the first time.
What Florida Building Code Requires on Every Reroof Here
Roof replacement in St. Petersburg isn't just a matter of picking a material and nailing it down. Florida's building code sets specific requirements for reroofing that go beyond what a lot of other states require, and they exist directly because of the wind and water exposure this part of the state deals with every storm season.
Permits and Inspections
A roof replacement requires a permit through the City of St. Petersburg, and the job gets inspected at required stages before it's signed off. That inspection process exists to confirm the deck, underlayment, and fastening were done correctly — not just that shingles or tile ended up on the roof looking finished.
Secondary Water Barrier
Florida code requires a secondary water barrier at the roof deck itself on most reroofs — either a self-adhered membrane or a taped/sealed deck system that keeps water out even if the primary roof covering is compromised in a storm. This requirement exists because wind-driven rain in this climate doesn't just test the shingles or tiles; it tests everything underneath them too, and code treats the deck as a real line of defense rather than just a nailing surface.
Wind Uplift Resistance
Fastening patterns, nail count, and material wind ratings all have to meet code minimums tied to this region's wind exposure. This is one of the most common places a rushed or underbid reroof cuts corners, because it's invisible once the job is done — nobody can see fastener count or spacing by looking at a finished roof from the ground.
What a Correct Roof Replacement Involves
A roof replacement done right is a layered system, and every layer has a specific job. Skipping or rushing any one of them is what turns a roof that should last two decades into one that starts leaking in three or four years.
Tear-Off and Deck Inspection
A full tear-off down to the plywood or OSB decking is the only reliable way to find rot, soft spots, or hidden moisture damage that's been developing under the old roofing, often invisible from inside the attic until it's already advanced. Any damaged decking gets identified and replaced before anything new goes down, because building a new roof system on top of a compromised deck defeats the purpose of the replacement.
Underlayment and Secondary Water Barrier
Beyond the code-required secondary water barrier, the underlayment layer is what keeps the roof dry during construction and adds ongoing protection once the new roof covering is on. In a climate where wind-driven rain routinely gets forced sideways and upward under roof edges, a properly installed underlayment system matters as much as the visible material above it.
Flashing at Valleys, Chimneys, and Wall Transitions
Most roof leaks in this region don't start in the open field of the roof — they start at flashing. Valleys where two roof planes meet, chimney and vent penetrations, and the transitions where a roofline meets a wall all need flashing that's properly integrated with the underlayment and lapped correctly, not caulked over as an afterthought after the roofing material is already down.
Fastening for Wind Uplift
Nail or fastener count, placement, and pattern have to match manufacturer specification and code requirement for this wind zone, not a faster shortcut method. That's what keeps a roof covering locked down during a hurricane-force gust instead of lifting at the edges or corners, which is where wind damage almost always starts.
Ventilation
Balanced intake and exhaust ventilation keeps the underside of the roof deck dry and moderates attic temperatures, which matters directly under Florida's intense year-round UV load and summer heat. Poor attic ventilation shortens the service life of the roofing material from underneath, even while the visible surface still looks fine.
Choosing a Roofing Material for a Disston Heights Home
There isn't one universally correct roofing material for St. Petersburg — the right choice depends on your roof's slope, your home's structure, your budget, and how long you want to go before the next replacement. Here's how the common options compare for this climate specifically.
| Material | Typical Service Life | Fit for Disston Heights Conditions |
|---|---|---|
| Architectural (laminated) asphalt shingle | 20-30 years | Strong balance of cost and wind resistance; the most common practical choice, especially with a higher wind-rated product line |
| 3-tab asphalt shingle | 15-20 years | Lower upfront cost but a thinner profile and lower wind rating, a weaker fit for a hurricane-exposed area |
| Standing seam metal | 40-50+ years | Excellent wind and UV performance with low long-term maintenance; higher upfront investment |
| Concrete or clay tile | 40-50+ years | Very durable against UV and salt air, but requires correctly engineered fastening for wind uplift and a structure rated to carry the added weight |
| Modified bitumen or TPO (low-slope) | 15-25 years | Common on flat or low-slope sections of older Florida homes, such as additions or utility roofs, where shingles or tile aren't an option |
Older St. Petersburg neighborhoods like this one often have homes with a mix of roof slopes — a primary shingle or tile roof over the main structure, and a lower-slope section over an addition or utility area that needs a completely different roofing system. Part of scoping a replacement correctly is identifying every distinct roof section and specifying the right material and detailing for each one, rather than treating the whole roof as a single uniform job.
Wind Mitigation Inspections and Insurance
A new roof isn't just a maintenance item in this part of Florida — it directly affects your homeowners insurance. A wind mitigation inspection documents features like your roof covering type, deck attachment, roof-to-wall connections, and secondary water barrier, and insurers use that documentation to price wind coverage. A new roof built to current code, with hurricane straps or clips at the roof-to-wall connections and a documented secondary water barrier, generally qualifies for better wind mitigation credits than an older roof built to an earlier code cycle. We can point you toward a licensed inspector for that documentation once the replacement is complete, since it's a separate service from the roofing work itself.
Our Process, Start to Finish
- Roof inspection and honest assessment: We walk the roof and attic, document what we find with photos, and give you a straight answer on whether you're looking at repair or replacement.
- Written estimate and material selection: You get a clear, itemized estimate and a walkthrough of material options that fit your budget and how long you plan to stay in the home.
- Permitting: We pull the required City of St. Petersburg permit before work starts, so the job is inspected and documented correctly from day one.
- Tear-off and deck inspection: Full removal of the old roofing down to the deck, with any damaged decking identified and replaced.
- Underlayment, secondary water barrier, and flashing: Installed to code and manufacturer specification at every valley, penetration, and wall transition.
- New roof installation: Fastened to the pattern and count required for this wind zone, not a shortcut method.
- Final inspection and cleanup: The job passes required inspection, and the site is cleared of debris, nails, and old material before we consider it done.
Why a Crew That Already Works Disston Heights Matters
A roofing crew that already works this part of Pinellas County has seen how these specific roofs age — which slopes take the worst sun exposure, where salt air causes flashing and fastener problems first, and how older roof-to-wall connections in this neighborhood typically need to be addressed to meet current code during a replacement. That familiarity shows up in fewer surprises mid-job, a more accurate estimate up front, and a crew that isn't learning Florida's reroofing requirements for the first time on your house. It also means someone local you can actually reach if a question comes up after the job is finished, rather than a crew that was passing through the area for one project.
After the Install: Keeping a New Roof Performing
A correctly installed roof still benefits from basic upkeep, especially in a climate that doesn't give a roof much of a break between UV exposure, humidity, and storm season.
- Have the roof visually inspected after any major storm, even if nothing looks obviously wrong from the ground
- Keep gutters and downspouts clear so water isn't backing up under roof edges
- Trim back any tree limbs that overhang the roof, which reduces both physical damage risk and shaded areas prone to organic growth
- Watch for granule buildup in gutters, which can signal accelerated shingle wear
- Address any interior ceiling staining right away rather than waiting to see if it happens again
- Keep a copy of your wind mitigation inspection and roofing permit documentation with your insurance records
If your Disston Heights roof is showing its age, took storm damage, or you just want a straight, no-pressure look at where it actually stands, we're glad to come out and take a look. Reach out below for a free estimate.